

Cryolipolysis Big Handle ODM Product for Aesthetic Equipment
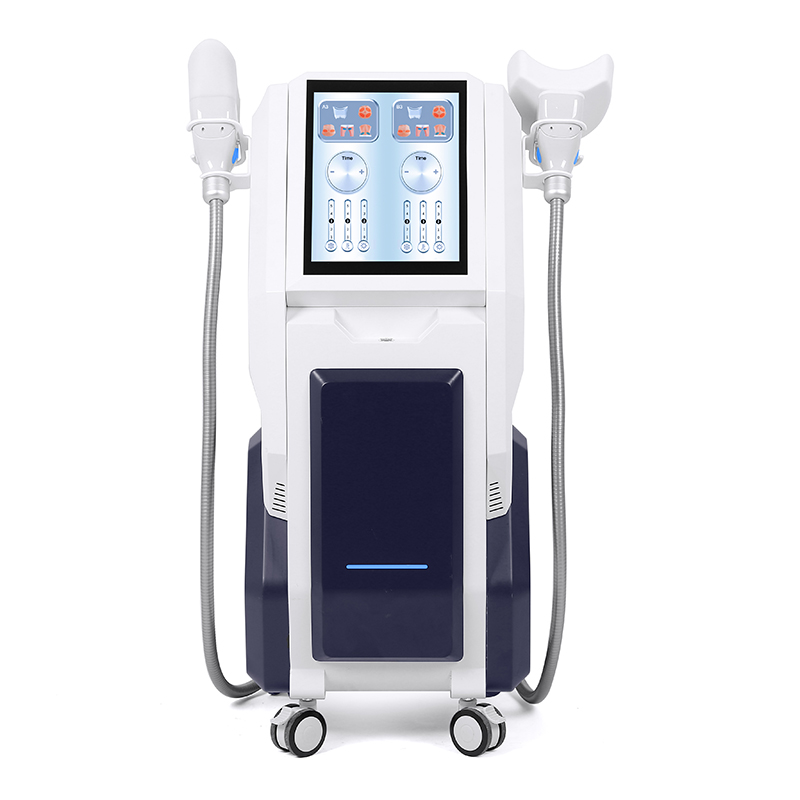
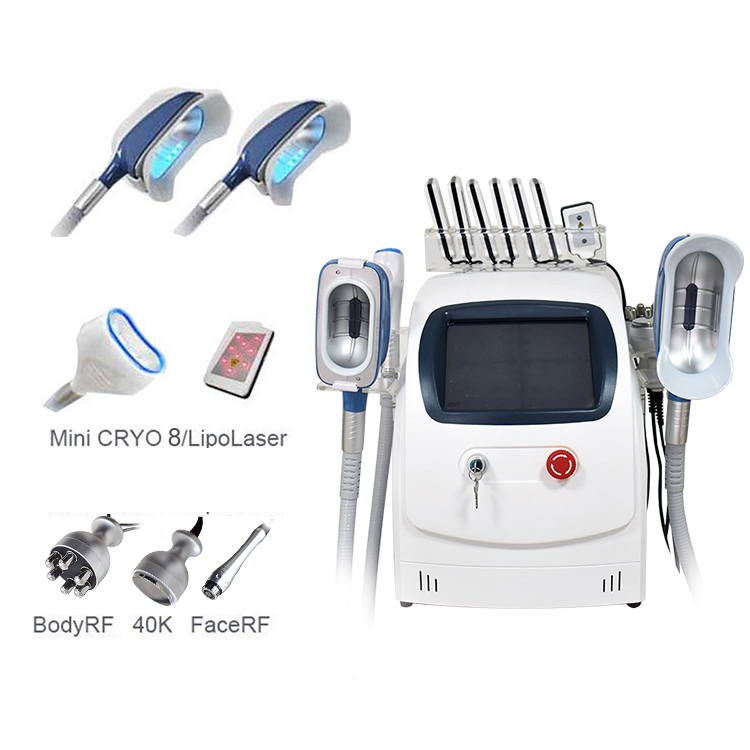
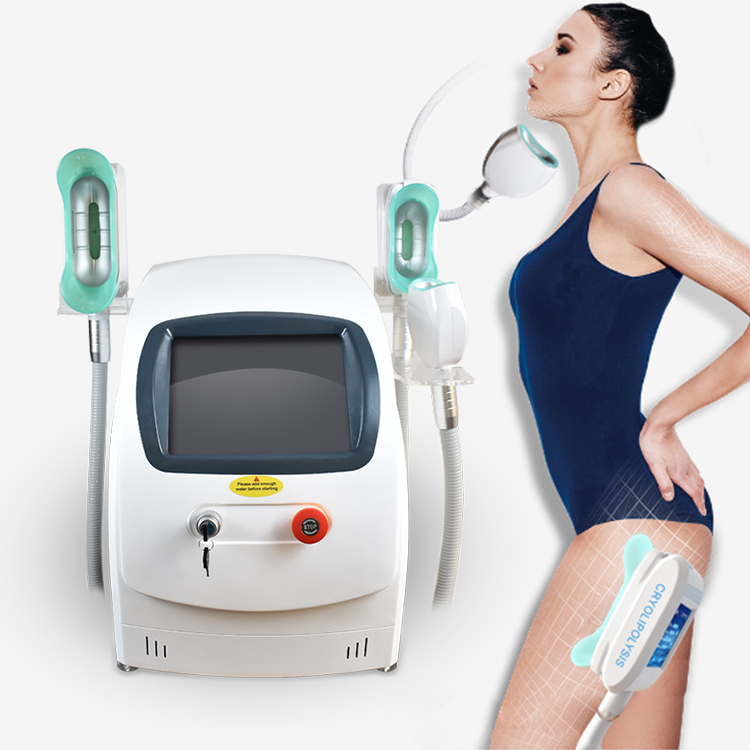
As a sourcing partner, I offer the Cryolipolysis Big Handle as a reliable core for aesthetic clinics. For ODM collaborations, we tailor this module into your own brand, making it a seamless ODM Product that fits your line strategies. The big handle delivers precise suction and even cooling, with durable steel frame and easy-clean design. We provide flexible settings, short lead times, and comprehensive technical docs to support installation and service. This setup is designed for high-volume use, easy maintenance, and fast ROI. I personally oversee QA, ensuring consistency across batches and easy scale-up with your manufacturing schedule. With competitive pricing and short MOQ, it's ideal for clinic networks, beauty chains, or OEM partnerships. If you need, we can supply sample kits, after-sales support, and OEM packaging that reflects your brand identity. Cryolipolysis Big Handle could be the game changer for your product lineup and ODM strategy.


Cryolipolysis Big Handle Application Factory-Direct Excellence
Global buyers seeking an efficient cryolipolysis solution will value a big handle applicator that expands coverage, shortens sessions, and improves ergonomics for clinicians. A well-designed large handle delivers stable suction and even cooling, enabling smoother repositioning, greater patient comfort, and more consistent results. Modern devices also offer precise temperature control and built-in safety protections, with robust components for high-volume clinics. For procurement teams, factory-direct sourcing offers tangible advantages: shorter lead times, clear pricing, and tailored configurations for regional needs. Look for tight in-line quality control, international certifications, spare parts availability, and after-sales support—training, installation, and remote diagnostics. A reliable supplier provides clear documentation, packaging optimized for global shipping, and a resilient supply chain that sustains performance across markets.
| Application Area | Zone Size (cm²) | Cooling Temperature (°C) | Treatment Time (min) | Vacuum Level (kPa) | Cycles per Session | Est. Fat Reduction (%) | Common Adverse Events (%) | Comfort Score (0-10) | Recovery Time (days) |
|---|---|---|---|---|---|---|---|---|---|
| Abdomen | 320 | -12 | 40 | 85 | 1 | 18 | 4 | 7 | 1 |
| Flanks | 260 | -11 | 35 | 82 | 1 | 15 | 3 | 6 | 1 |
| Inner Thighs | 210 | -13 | 30 | 78 | 1 | 12 | 5 | 5 | 2 |
| Upper Arms | 150 | -12.5 | 25 | 70 | 1 | 10 | 2 | 6 | 1 |
| Submental (Chin) | 60 | -10 | 25 | 60 | 1 | 8 | 2 | 7 | 0 |
| Back (Upper/Lower) | 280 | -12 | 40 | 86 | 1 | 16 | 4 | 6 | 1 |
| Lower Back (Banana Roll) | 190 | -11.5 | 32 | 75 | 1 | 11 | 3 | 5 | 1 |
Related Products


Cryolipolysis Big Handle Pioneers in the Field Winning in 2025
Top Selling Products

- Related Blog
- Reviews
